Thursday, March 17, 2016

Announcing Team Green On St. Patrick's Day + Updates!

Well hello hello!  It has been a little while since I last made any type of post...but I can explain!  At the beginning of the year, I was at my sickest point...ever...

Baby bump drink
sponsored by: Hey Mama Teas 

...why? Because we are expecting our first little baby in July!  We are soooo excited to welcome this blessing, and while it was really rough at first, I am feeling much better now and ready to take on more projects!  We get asked all the time what we are having and we decided long ago that we would find out on his/her birthday.  #TeamGreen  


Pillowfort by Target
So since I have last spoken with all of you, I have started back at the gym (slowly due to my doctor's orders), had a fence installed, started the decoration madness of a nursery, spent more money than planned at Target (have you all seen the Oh Joy and Pillowfort lines for kids and home decor?), went on a few quick trips with my hunny bunny, and most recently, had a successful girls trip to New Orleans!  As soon as I started to feel better, I was ready to jump on a flight and get the heck out of town!  


Above: New Orleans Trip (Beignets,
Gumbo, Snow Ball, Praline Bacon)
Soon, I will have some updated posts for you regarding the house.  We haven't completed a ton of projects (or even started most), but I can show you the nursery updates, which was our last empty room to decorate.  Until now, it was used to store all my purchases from Target, West Elm, Amazon, etc. until I figured out exactly what I wanted to do with them.  No more storage room for me and I officially told my hunny we should have built a home with four bedrooms...the nerve of me huh?  

So that is my update...how the heck are all of YOU?  I have been checking for updates and glad to see some of you are still around...but we are missing a few!  I hope you all can share some updates soon.  With the weather (hopefully) turning into more permanent Spring-like temps, I am sure more posts will be popping up soon. 

Until next time, take care!!
xoxo  

Friday, January 15, 2016

Savant Lighting + Pictures

Happy Friday!  

From my last post, I received a few questions about the stairwell lighting and its control functionality.  Originally, I was going to just add a few pictures to the previous post, but it can be hard to explain with just pictures.  Here is brief overview of our Savant lighting and its control function.  I hope this will help answer your questions...but if not...as always reach out to me and I go into greater detail.  

The lights we control via Savant are:

  • All Outside Lights
  • Living Room
  • Dining Room
  • Man Cave
  • Stairwell
  • Kitchen (all)
Savant can be customized to control how little or how many lights your heart desire.  As mentioned in this post, Savant is one of many home automation systems on the market to fully control your home (security, lights, music, television, window shades, etc.).  Check out their site to learn more about the features.  Savant requires an authorized Savant Integrator to get things started for you.  There may also be components that you need to purchase, but again, everything depends on how much you want your Savant system to control.  For example, we thought it would be best to not include rooms like the pantry for lighting automation.  As we enter the pantry, we flip the switch.  Saying that, we do know people who literally do not touch one light switch in their entire home!  So again, as little or as much as you want!!!  

Savant System
The system is controlled via the app on our iPad, cells, and computers.  We decided to use iPads as remotes so there is one in every room with a television.  Using a LaunchPort allows us to have a 'home' for each iPad while charging it as well.  Works great!  There is no need to find a plug to charge your iPad, and because they are logistically located, it makes it easy to grab the 'remote' off the wall and go.  Your iPad will sit inside the LaunchPort sleeve and magnetically attache to the wall holder/charger.    

As I mentioned, the system can control as much as you want!  Savant controls our television and media options as well.  Through the app, you can customize the view with actual pictures of your rooms and create "scenes" for your home.  This is totally up to you and is not needed to work properly.  It just gives an added touch of customization. 

Savant Pro App

iPad charging on wall

LaunchPort magnetic holder/charger

Our Savant rooms in app (pictures taken a while ago, so not the most recent view)

Some of our Savant services

Lighting
For the lighting, specifically the stairwell lighting, we did not add any additional lights to this area.  What we wanted to do (before guests came for the Thanksgiving holiday) is add some path lighting to prevent the possibility of someone falling up or down the stairs.  Now since I am very honest...I have fell both up and down our stairs...a number of times!  LOL  It was funny, but not so funny if your mom or grandmother was to fall.  To help us, we simply added Lutron Occupancy Sensors to both stairwells that would detect motion and turn on the lights to our settings.  With these sensors, you can customize how long you want the light to illuminate and to what brightness percentage.  They also work well with Savant!  I can't remember what percentage we have the lights set now, but originally it was too high.  As soon as we walked near the stairwell from waking, those bright lights would blind us.  A quick adjustment, and we were good to go.  It's also important that while some adjustments can be made by you, others will require the Savant Integrator.  So keep that in mind as you plan your automation.
There could be a service charge if you need the Savant Integrator to visit multiple times. 
As mentioned in this post, we have Lutron switches inside the home for most switches, including the some not on any type of automation schedule.  Legrand is the other brand we've used in the garage, bedrooms, and soon the bathrooms.        

Savant Occupancy Sensor

Standard lighting in stairwell

Lutron switch

Lutron switch options

Lutron switch options

Lutron rocker (pantry)

Lutron switch (lots of colors and textures to pick from)

If you are thinking about adding some automation to your home, my only advice would be to plan out what's important to your needs and build from there.  You can always do things in a phased approach so you can see what works best for you.  It also helps your pockets because as you know, these little projects can add up quickly!  

Have a great weekend!

xoxo

Tuesday, December 22, 2015

Overdue Update with Pictures: Backsplash + Outlets + Lighting - UPDATED

I am soooo behind on updating you all!  How was your Thanksgiving holiday?  I hope it was full of great memories with family and friends!!!  We were super swamped with getting our home together for our first official hosting!  There were so many items we had on our to-do list before guests arrived in town.  With a lot of work, we were able to complete (almost) everything and our holiday feasting turned out absolutely amazing!  

Here are the items we wanted to have done before the holiday:
  • Replace builder pendants over kitchen island 
  • Replace builder chandelier in dining room
  • Get house re-painted from our one-year drywall fixes
  • Install the path lighting for stairwell (didn't want anyone to fall up or down the stairs at night)
  • Replace kitchen outlets and faces 
  • Install kitchen backsplash 
  • Extend our home automation lighting to outside
  • Have fence installed
  • Finish my DIY barista bar
Everything was completed except the installation of the fence.  There was an error with the manufacturer, and they were unable to order the fence materials in time.  We now have the items ordered and the fence should be in very very soon!

For the most part, the kitchen can finally be considered DONE!  Counter decor could change with the seasons, events, etc., but here are a few pictures of the updates!  I will do another post in the near future on the barista bar.  Here are some recent pictures of the updates we completed right before the holiday!

Outlets/Plates:
Installed by my husband and I!
Above: kitchen wall outlet before

Above: kitchen wall outlet and plate after

Above: kitchen wall outlet and plate after

Above: island outlets after (pop outs)

Above: island outlets after (pop outs)

Kitchen Island Pendants:
I actually helped my husband install these! Very easy and we loved the mixing of the metals in the finished look!

Above: kitchen pendants before

Above: kitchen pendants after

Backsplash:
My husband assisted one our buddies install the backsplash.  Picking out the actual material took forever (we started looking in February), but we love our final selection!


Above: backsplash and outlet/plates before

Above: kitchen backsplash and outlet/plates after

Dining Room Lighting
We tag teamed this one ourselves.  We finished just before our drywall certificate so we had the guys re-patch and paint the ceiling for us!

Above: dining room light before

Above: removing the builder light

Above: what our ceiling looked like after removal of builder light

Above: after installing new light, this is what we were left with

Above: new dining light after

Updated 29Dec15
I was asked about the kitchen backsplash specifics, so I wanted to share more details on those products.  Let me know if you have any other questions!

Backsplash
If possible, ask if you can borrow displays from your selected store.  It really helps to bring home a sample to see how well it flows with your other kitchen details.  Over time, we had roughly six (6) displays we 'played' with before deciding on the winner!  For us, our counter tops are kind of busy so we did not want a backsplash that introduced too much flare.  The options are endless, so have fun and don't feel rushed!  If you are near a Mosaic Tile, they are really good about having samples on deck for you to take with you! 

  • Tiles: 3x6 Brushed Copper Alloy Subway
  • Tiles:At the time of purchase, it was priced at $29.11/sq. ft.
  • Wall grout in color Earth
  • Non-sanded caulk in color Earth
  • All materials purchased at Mosaic Tile

Display of tile borrowed from Mosaic Tile
Displays from Mosaic Tile


xoxo


Thursday, November 12, 2015

Finishing Our Garage: Episode 6 (the floor)

We are BACK with a new and exciting update on the garage!  It has been a little while since our last post because we spent a ton of time and energy researching the right product for us.  We decided to go with Armorclad by Armorpoxy, with the military top coat for our epoxy resin.     

By now, you know that I can appreciate some great customer service right?  Armorpoxy answered each and every call and email we sent their way.  As first timers using an epoxy resin of any sort, we had tons of questions.  We also visited garage forums to hear from people who actually finished their garage floors for additional tips and tricks.  

The process started by constructing our kit which included most tools and all solutions needed for our application.  We decided on using this two-step process which is more of a process than the options at Home Depot or Lowe's.  If you Google, you can find many entries on the differences between the two, but we wanted to diminish the possibility of hot tire pickup, so we went with a two-step product.  Armorpoxy also provides a ga-zillion different color choices if you decide to flake!  

Here are the steps we took to achieve our finished garage flooring.  We started on a Thursday evening and finished on a Sunday night:

Step 1:
  • We cleared the garage of stored items and sweep really really well. 

Step 2:
Power Washer from Home Depot
  • (Thursday) Roughed up the concrete by acid etching.  Our kit came with the acid solution so there was no need to buy anything extra. Grinding is another great option that will really rough up your concrete.  If you don't have a grinding machine, no worries because you can rent one from Home Depot!  If you decide to use the acid technique, a power washer will be really helpful.  We rented ours from Home Depot and allowed the garage to completely dry for 24 hours before moving on.  

Step 3:
  • (Friday) After the space was dry, we patched up some small holes and cracks in the garage.  OK...well my husband patched holes and I went out on a Chipotle run!  We added the crack repair to our kit since we knew we had holes and cracks to mend.  Our neighbor let us borrow their dehumidifier to help with the drying process.   
    Patched holes

Step 4: 
Applying floor primer
  • (Saturday morning): We primed the floor (included in the kit) and allowed it to dry according to the directions.  We started early enough in the day so (Saturday afternoon) we were able to apply the actual epoxy and flakes as well.  There are some special spiked shoes that you can add to your kit to give you ability to walk on the epoxy.  You WILL NOT be able to walk on the epoxy in regular shoes.  This is where the team work comes in handy!  We both cut in the corners of the garage since a roller brush will not get those spaces well.  Think of it as painting a wall.  Cut in first, then roll.  While my husband rolled, I sprinkled the flakes.  I must admit that I was super nervous about walking on the floor with spikes, but they are awesome and I would highly recommend.  If my husband missed a spot while rolling, I was able to grab the roller and hit the spot in the spikes!  
  • After the floor was rolled, it was a waiting game to allow the epoxy resin to dry.  This was 24 hours for us.


Awesome spiked shoes
Mixing epoxy resin
Custom flake mix

Step 5:
  • (Sunday): Now that everything was dry (and looking great), we had to apply the top coat.  Again, we added the military grade top coat to get rid of the slip factor.  As it stood before the top coat, it was a little slippery but not quit 'ice'.  After we successfully applied the top coat, the floor was technically complete.  We just had to wait another 24 hours for drying.  
Close-up floor (before topcoat)
Finished floor - drying

Products/Equipment used:
We LOVE LOVE LOVE the results we achieved! We had no idea what to expect, but decided to just do it and see what happens. It was a great project and much easier than it appeared originally.  

Next on the finale of 'Finishing Our Garage',  we will finish off the space by adding some type of base board to complete the look!    
  
xoxo

Friday, October 16, 2015

Getting Organized + Pictures

Happy Friday!  I came straight home today super excited to get this closet organized and switched over to Fall/Winter attire. 

Since I reached out for some organization help on my earlier post, first I should sort some things to see which solution would work best for me.  

Items that need a little more attention:
  • Costume jewelry
  • Hair products
  • Receipts 
  • Small packages/gift boxes
  • Gym bags
  • Camera equipment 
  • Shoes that does not fit in the over-the-door shoe hanger (boots, etc.)
  • Various sample packets (you know the free stuff you get from retailers)
Items that are actually in good standing:
  • Nail polishes
  • Fashion scarfs
  • Winter scarfs
  • Winter hats/gloves
  • Hair equipment (flat irons, blow dryer, hot rollers, etc.)
  • Swim attire
  • Clutch purses
I used bins from the Container Store that I found on clearance for everything except the nail polishes.  Those are on the wall using an acrylic nail polish holder from Amazon.  

I got some ideas from my lovely blogger friends for the items needing attention, and I really want to try some out.  Question for you: how long do you keep items that you have never worn?  I swear I tell myself "I will wear it next season" and that never happens.  I think I may have a small issue with letting go of things.  

This is what I am dealing with now.  I hope to have things sorted with 90% done by morning, so I can run to Target or the Container Store in search for a better solution!  Let the coffee making begin...something is telling me this is going to be a long night!  


Above: Ziploc Space Saver Bags

Above: Costume necklaces

Above: Belts

Above: Bangles/bracelets 

Above: Samples from retailers 

Above: Sunglass holder

Above: One of the few items with a home!


I will post the final closet once I have sorted through everything and found a home for the lost items!  

xoxo

Winterizing My Closet (before) + Pictures

Finally, my favorite season is upon us!  Fall is everything to me: scarfs, boots, cute hats and my favorite drinks at Starbucks!  #PSL

As you know, my closet is the Elfa System from the Container Store.  You can see my initial closet setup here.  Maybe it's just me, but I still feel I could use more space!  For as long as I can remember, I have been switching out my Spring/Summer attire to Fall/Winter twice a year.  I store my out of season fashions in Ziploc Space Saver Bags, because they actually do save a great deal of space and they are a super easy and affordable solution.

Since I was making the switch, I wanted to show you all my closet...the good, the bad and the ugly!  Most of the time, this space is kept pretty neat because I like to just grab-and-go!  When I am trying to find something for date night, or for an event, that is where you will meet the monster side of the closet.  I fail to hang things in the correct location, or hang things back up at all!  The good thing is I have a door, so it should not cause a problem for the day or so I leave it a mess.  HAHAHA

I love my closet, but for the life of me, I still do not have a place for most of my costume jewelry.  Originally, I purchased a cart with a jewelry hook and since then, the cart is in another closet (empty) and the jewelry hook is on the floor the spare bedroom.  Ladies, where do you store your cute necklaces/jewelry?  I am open to any and all help!!!

Here are some pics of my closet as I move in my clothes for the cooler months.  There are some other items that I need to figure out because they are also a hot mess.  For example, I keep my receipts for almost everything I purchase.  If it's a bigger item, I keep for...forever.  For other items like clothing, I keep until the return policy expire, just in case I need to return them.  This bag of paper is going to drive me crazy, so I have to think of a creative way for this madness.  To keep this post from going any longer, I will do the 'after' post separately.  

*Warning: the following contains messy (but truthful) pictures*


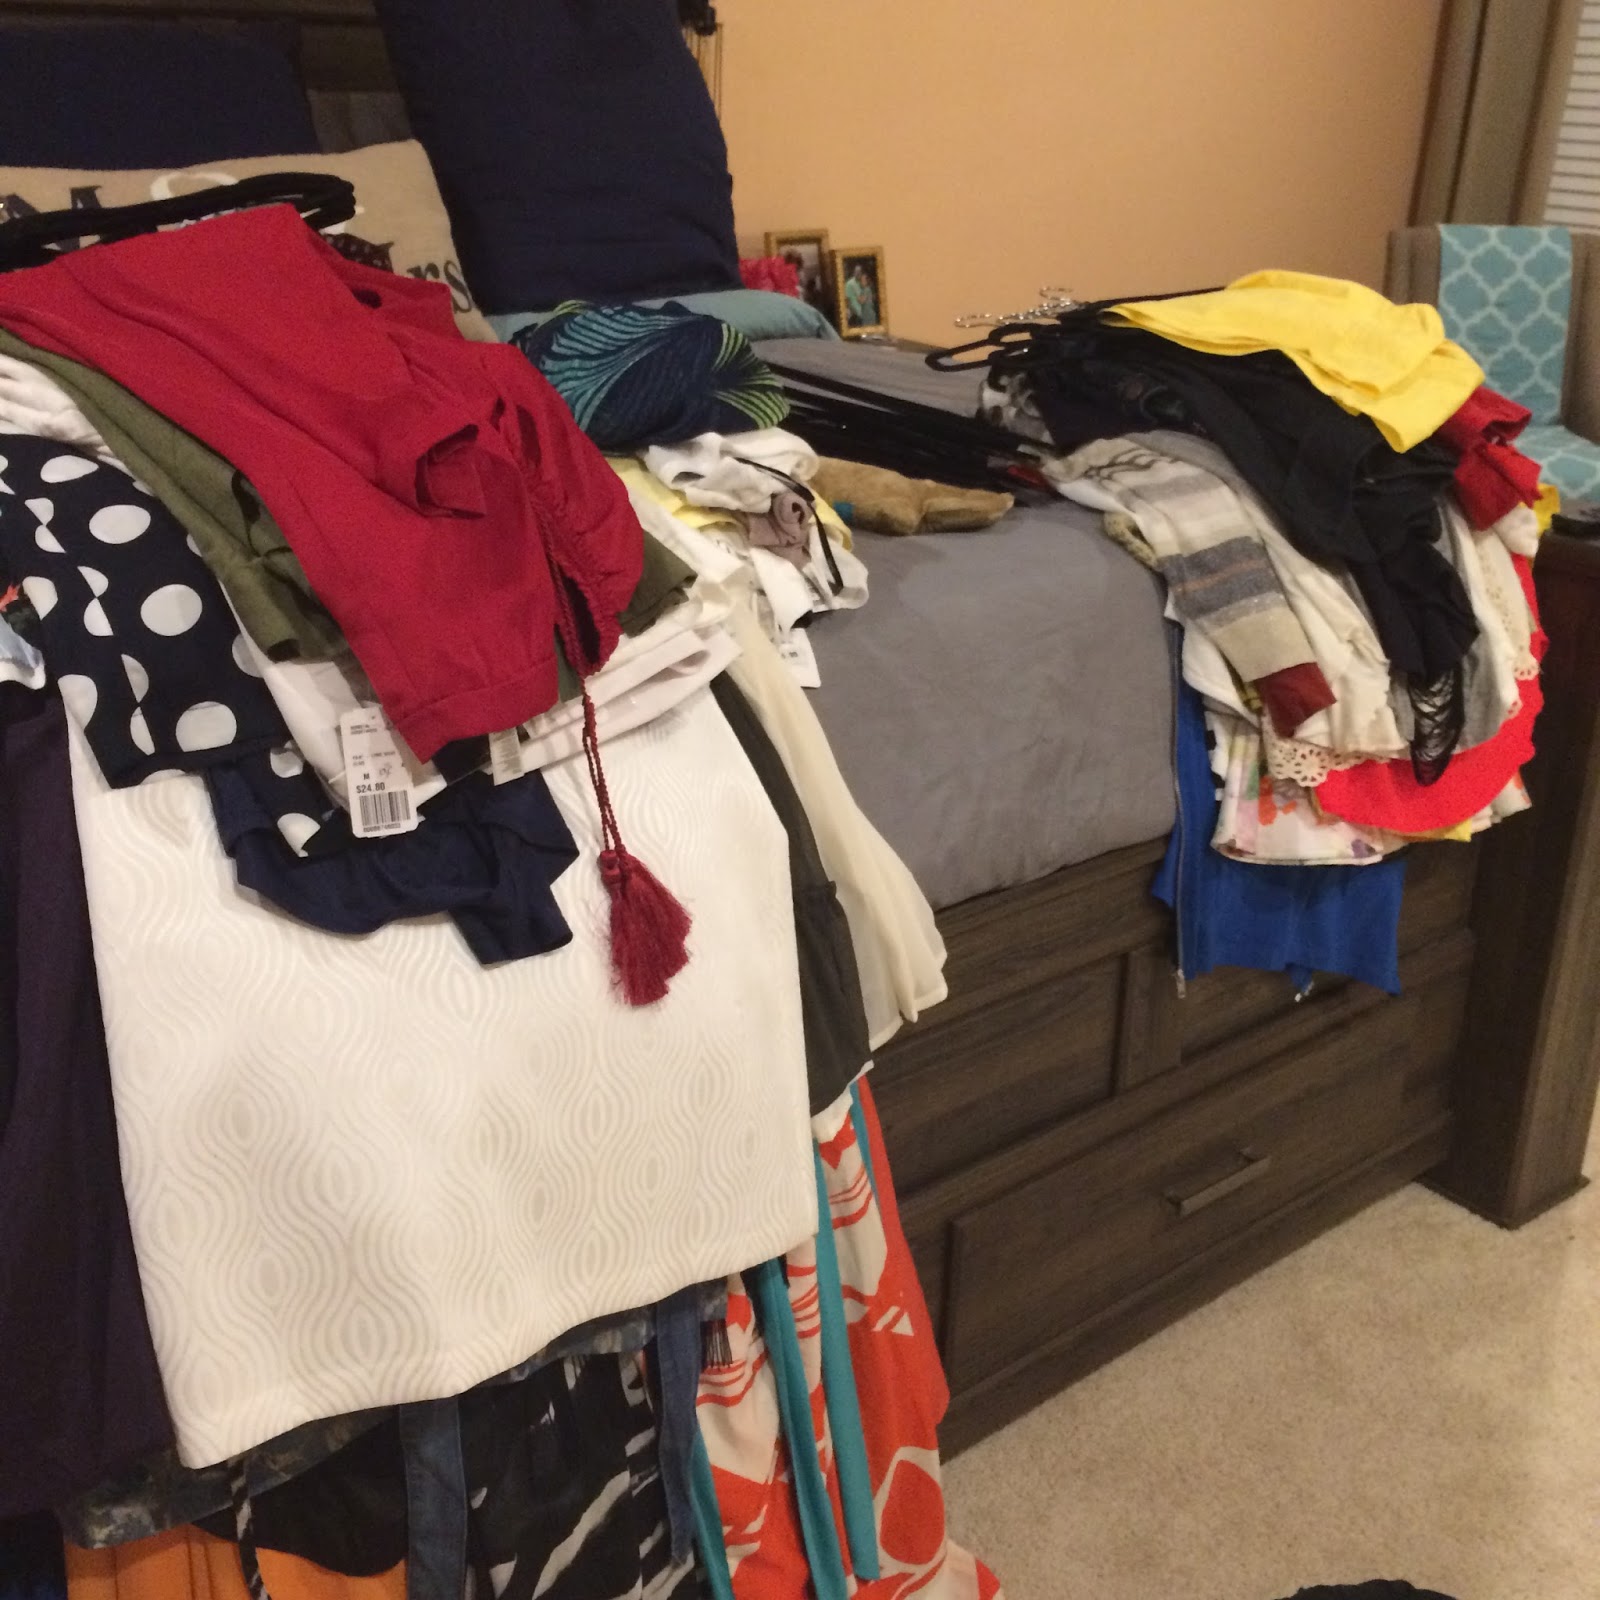
Above: Saying good-bye to my maxi dresses and other spring/summer items...

Above: ...which left me with a mess...
Above: ...or two! Never mind my Epsom salt and lavender from the tub area...trying to multitask!!

Above: Going through dresses...

Above: ...and skirts!

Above: Jeans and sweaters stay around all year...

Above: ...and so does most blazers!

 But then the real problem is revealed...bags of crap in need of a home!  

Above: My bag of receipts that I keep for return purposes. This creates a chore of me going through them monthly

Above: Another bag of crap! Boxes/containers from smaller gifts

Above: AND another load of crap...hair products in containers that drive me up the wall and back! 

Above: Original setup using the cart 

 I'm wondering if I should use the cart again?  I just hate that it closes the closet off a little more.  Currently, I like walking right in without much thought.  LOL  

Let me work on cleaning up this mess and I will post the final closet soon.

xoxo